How to clip your GTA 6 gameplay recorded on PS5 or Xbox
You don't need to be a streamer or have a webcam to make GTA 6 clips. Here is how to record on your console so the AI can actually clip it, move the file to your computer and generate the clips in Cut.Pro.
How to clip your GTA 6 gameplay recorded on PS5 or Xbox
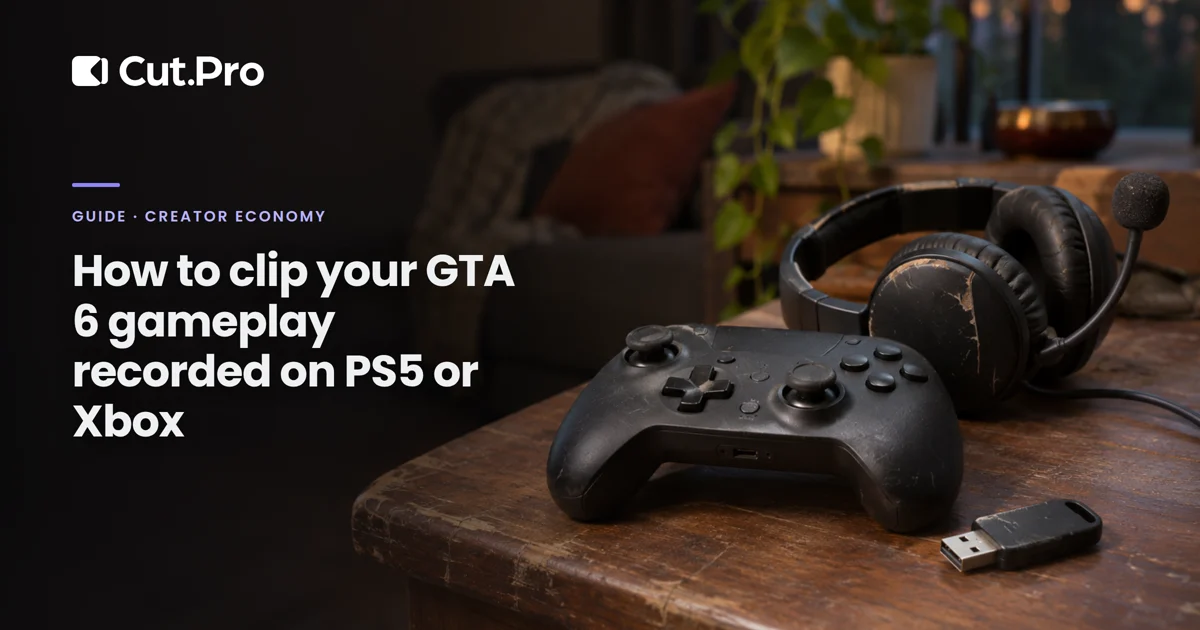
To clip your own GTA 6 gameplay, record on your console with your mic included in the capture, move the file to your computer with a USB drive and upload it in "Clip video" on Cut.Pro. You don't need a webcam, a capture card or a livestream. But three details decide whether you get good clips or nothing: your voice in the audio, the 1-hour limit per recording and how to frame a video that has no face in it.
The guides we've already published start from someone clipping a streamer's live. This one is for the other side: you play, you record, you post.
Why record with your mic on?
Because the clipping AI picks moments based on speech. In Cut.Pro, a video with no speech at all stops at "No speech detected", and a long stretch of silence comes back with the warning "It has long pauses with no speech", as I explained in how to get AI to find the moments worth clipping.
GTA 6 makes this worse. Without your voice, the only speech in the recording is the game's, in English, and the cutscenes do most of the talking. The AI will clip story scenes, which are the kind of video most likely to get taken down: Rockstar's policy covers removing videos that show the game's ending and major plot reveals. Talking about what you're playing, even quietly, is what turns a session into raw material.
How long can the console record at once?
On the PS5, up to 1 hour. PlayStation support says this for both modes: starting a new recording and saving recent gameplay (from 15 seconds up to 1 hour back). A three-hour night becomes three files, and each one goes into Cut.Pro as a separate video.
On the Xbox Series X|S, "Record what happened" is for short stretches, and for a long session the way to go is "Start recording", according to Windows Central's guide. I couldn't find the exact limit in Microsoft's documentation, and third-party guides disagree, so check on your console before your first serious session.
Step by step: from the controller to a posted clip
Turn on your mic in the capture. On the PS5, go to Settings, Captures and Broadcasts, Captures, and in the audio options choose to include your microphone audio. If you play in a group, PlayStation recommends asking your friends before including voice chat. While you're there, lower the manual recording resolution to 1080p: a 1-hour file in 4K is too heavy to upload quickly, and a vertical clip doesn't use all that resolution anyway.
Sort out the radio before you play. Licensed music in the car is the part of the video most likely to get a copyright claim, as I showed with the Brazilian music on GTA 6's radio stations. Third-party guides published this week mention an option in the game's audio menu that mutes licensed music, but I couldn't confirm it with Rockstar. Open the Audio menu: if the option is there, turn it on. If it isn't, turn the radio off when you record.
Record. Create button, "Start new recording", and play while talking. If something wild happened and you weren't recording, use "Save recent gameplay" and pick 15 minutes back, which gives enough context. Cut.Pro only accepts videos that are at least 1 minute long.
Move the file to your computer. USB drive in the USB port, Media Gallery, select the video, More, "Copy to USB drive", as described on the Media Gallery page. The PS App doesn't work here: automatic upload to the app only accepts videos up to 3 minutes long and up to 1080p, and the video disappears from the app after 14 days. It's great for the 30-second clip you already know is good, not for the whole session.
Upload it in "Clip video". On your computer, click "Upload file" next to the link field. The size limit for your plan shows on the screen itself, and on the free plan the clip comes out with a watermark.
Say what to look for. Under "What should I look for in the video?", choose "Write" and describe how you play, for example: "Moments where I react out loud to a chase, crash or weird thing on the map. End on my reaction. Skip cutscenes and menus." Under "Video excerpt", trim the loading minutes at the start. Then click "Generate clips".
Frame it without a face. This is where console gameplay differs from a livestream. The "Full screen" layout makes a vertical crop that closes in on whoever is talking. With no face on screen, it cuts the middle of the picture and loses the minimap and the HUD corner. For pure gameplay, I'd use "Full video", which puts the whole frame in a strip with a blurred background behind it and leaves room on top for the title. Open a clip in the editor, save it as a template and, in the template's "Layout" tab, leave only "Full video" checked under "Allowed layouts". In the clip list, "Edit all with a template" applies it to the rest at once. For caption placement, see captions on a GTA 6 clip.
Publish within 7 days. The clips from an uploaded video expire after a week. Use "Publish" on the clip, or select several and click "Schedule". What changes from one network to another is covered in one GTA 6 clip on every network.
What if I stream from the console instead of recording?
That works too, and it saves you the USB drive. The PS5 streams straight to Twitch or YouTube, one platform at a time, at up to 1080p and 60 frames, according to Elgato's guide. Elgato also points out that Twitch livestream recordings expire after a while, so don't leave the clipping for weeks later.
Once the stream is over, paste the recording's link into "Clip video". If you paste it while it's still live, Cut.Pro shows "Waiting for the stream to end" and starts on its own when it finishes. If you're on Plus or Pro, you can go further: in "Clip live", use "Add channel" with your own channel and the clips come out during the stream.
The advantage of recording on the console stays the same: it doesn't depend on anyone watching, and you can play the whole session without thinking about an audience.
Common mistakes
- Recording on mute. This is the costliest mistake, because you only find out after uploading 1 hour of video.
- Letting the mission go by. GTA 6 doesn't let you replay story missions. If it's a good mission, the recording has to be running before it starts.
- Spoilers in the title. Under "Advanced", fill in "How to write the titles" asking for titles with no mission names or reveals. The precautions are in GTA 6 spoilers in clips.
- Posting only on day one. GTA 6's story is long (how long it takes to beat), and every session yields new clips for weeks.
Where to start
Today, before you play again: turn on your mic in the capture, lower the recording to 1080p and sort out the radio. Record a 1-hour session talking as if someone were sitting next to you, move it over by USB drive and generate the clips with the instruction from step 6. In the first batch, post the highest-scoring ones and see which ones stop the scroll.